gardenchatter

Garden adventures, thoughts and ideas…


Leave a comment

April Showers Bring…Purple Dead-Nettle?

If I could make money selling purple deadnettle (Lamium amplexicaule) I could retire tomorrow. The wonderful April showers, that as we all know, will bring May flowers, have also brought a plethora of purple deadnettle. I’m not sure I’ve ever seen quite this much in one place.
 
Also known as henbit, dead-nettle is a member of the mint family and forms groundcover mats very early in the season. An annual weed, It sports fuzzy, spade-shaped leaves and delicate purple-pink flowers. Unlike most nettles, this one doesn’t sting – hence the name “dead”.
 
Each plant grows to 40cm / 15″ tall, has a very shallow root system and develops around 200 seeds (yes, each plant). So pull these early spring darlings out as soon as you can – or it might become a full-time job!


Leave a comment

The Language of Flowers

Primula polyantha

 primrose
 
 
– aka Primrose, are vibrant, early-spring bloomers, that grow 6 to 12 inches high and are hardy from zones 3b to 7b. One of the first spring plants to give us hope that our gardens will once again flouriish, Primula polyantha enjoys light shade and is available in a wide range of stunning colours.
Primrose signifies “young love”, which when you think about it, for us gardeners it makes sense – we’re falling in love with our gardens once again!


Leave a comment

How To Prevent Damping Off in Seedlings (now that garden season is in the air!)


Nothing is quite as frustrating for home gardeners as the joy of seeing newly planted seeds begin to sprout and flourish one day and then discovering them collapsed and wilted the following day.  Damping off is a fungal or fungal-like disease that makes seemingly healthy seedlings suddenly topple and die or, at times, never emerge at all. Although damping off is usually fatal, it is preventable. With a little attention to detail combined with good planting practices, your young seedlings will continue to grow into the healthy plants you want them to be.

The Cause

A number of pathogens live in soil, just waiting for the right conditions to occur before they step forward. The common pathogens that cause damping off are Rhizoctonia, Pythium, Fusarium and Phytophthora. They all develop and thrive in poor soil and less than ideal environmental conditions.

Soil Conditions

Use a good-quality, soilless potting mix to start your seeds. Fresh potting soils are typically free from harmful organisms, and the nature of the mixes provide good drainage, another important factor in reducing the risk of damping off. Soggy soil encourages fungal or fungal-like growth. Keep opened bags of soil away from floors and other unclean surfaces that could transfer contaminants into the clean planting medium. When planting, place seeds at the soil depth indicated on their seed packet. Planting seeds deeper than required in any soil may slow their germination process and ultimately damage the seeds.

Humidity

Good air circulation and room ventilation are other factors in reducing the humidity buildup that promotes pathogen growth; do not crowd pots or flats, or the seeds when placing them in those containers. As they begin to grow, thin seedlings — or remove some seedlings — according to the seed package directions to keep air adequately flowing around them, which reduces the amount of moisture on the plants. In order to thin seedlings, snip or gently pull out crowded seedlings, leaving the seed package direction’s required spacing between those that stay in the containers.

Temperature and Water

Cool soil temperatures before the seeds begin to germinate promotes the risk of damping off. Help ensure healthy seed germination by keeping the soil at a consistent temperature of 70 to 75 degrees Fahrenheit during the seeds’ entire early growth period. Keep the seeds and shoots evenly moist but not waterlogged until the risk of frost passes and weather conditions are favorable to move the growing seedlings into an outdoor garden.

Other Considerations

Many pathogens, including those that cause damping off, are transferred to new plantings via garden tools. Before working with plants and soil, or after contact with any disease, rinse your tools with a weak solution that is one part bleach to nine parts water. Leave the solution on the tools for at least 15 minutes, rinse it off and air-dry the tools. Planting seeds in new pots and flats as often as possible prevents contamination. If, however, using new pots and flats is not an option, sterilize the old containers along with your tools. Wear eye protection and gloves when cleaning pots and tools.


Leave a comment

Springtime Wisteria Poppers

Wisteria


As I was working away at fall cleanup late last year, I saw was I thought was leftover pole beans meandering through the wisteria. Upon closer inspection I realized that these “hanging beans” were actually growing right from the wisteria vines.

Wisteria is a flowering, climbing vine that develops unique and vibrant purple flowers each spring, and as the season moves along, 4-6 inch seedpods that are almost undetectable within all the foliage. The pods turn brown as they dry on the vine and once that drying process is complete, these pods become quite interesting.

Now, having any plant grow seeds or pods is certainly not a new concept, but how wisteria disperses its seed is quite unique. It’s explosive. Literally. The wisteria pod actually bursts open and “throws” its seed away from the existing plant.

Wisteria’s become very thick and full over time, so new seedlings need space to grow without being crowded by the parent plant, therefore, they fling themselves away to start a new vine of their own – and make quite a commotion while doing so. Think “popcorn”.

We’re still a few weeks away from spring – prime pod popping time, and as the snow starts to melt and temperatures rise, I’ll be out there waiting (from a distance, so I don’t get hit!) for the show to begin.

Here’s a YouTube link that very clearly (and loudly!) demonstrates how these seedpods pop (shown with authors permission). Who would have thought a graceful, flowing, flowering vine could be so entertaining!


Leave a comment

Lacy Hearts Chinese Hydrangea Vine

Lacy Hearts
Came across a very interesting, but apparently rare, new hydrangea vine – Lacy Hearts.

Lacy Hearts foliage is stunning – olive green, heart-shaped leaves that are edged in ivory. Small white flowers present a showy display in late summer.

Lacy Hearts needs plenty of water, particularly during hot spells and because of it’s shade tolerance would grow well in a woodland garden setting. It’s also suitable for creating a colorful privacy fence and would perform well if grown on a north or east-facing wall.

It’s fairly slow growing though but will ultimately sprout up to 15 feet.

A deciduous self-clinging vine (doesn’t need support or to be grown on a trellis), Lacy Hearts will survive in zones 6 to 9. There’s some discussion as to whether my area is 5, 5b or 6a, so if I can find this unique little hydrangea at any of the local garden centers, I might just give it a try in an area well protected from harsh winter winds. Most hydrangea vines grow just fine in zone 5+.

Other Chinese hydrangea vines with unique foliage include ‘Red Rhapsody’ – new foliage growth is red, ‘Rosea’ – bright pink sepals and ‘Moonlight’ – blue leaves with dark green veins.


Leave a comment

Pixie Cantaloupe

Wow, what a great gardening season it’s been this year. With regular rainfall and warm temperatures, everything is bursting with fresh produce. This is the best tomato year so far, and my first time trying “Pixie Cantaloupe” was outstanding. Definitely one I would grow again.

This compact, palm-sized hybrid melon weighs in at roughly 1.5-2 pounds and the fruit is deliciously sweet and juicy. With a small seed cavity and plenty of bright orange fruit, it’s the perfect size for a hot afternoon snack. And it’s just fun to grow – bizarre looking, however, when mature.

It’s ideal in locations with a shorter growing season. I’m in zone 5. These went in the ground June 1st and we’re harvesting now. They are typically 70-75 days.

I grew these “up”. They take up a lot of room once they get going, the fruit is small, but the vines meander. These are on a trellis with bird netting to allow the delicate tendrils to curl into the netting and grow up the trellis.

On the vineOn the vine

RipeReady to harvest – looks like a creepy eyeball

InsideReady to eat!


Leave a comment

Upside Down Tomato Planters

Have you ever tried those upside down tomato planters? I grew tomatoes in a couple last year for the first time and was quite impressed with how well they worked. We had an outstanding “upside down” tomato crop . I can’t help but think that the heat that built up in the bag contributed to the abundance of large, heathly tomatoes that grew. Tomatoes love the summer sun – and heat. However, with being in the bag, they do need water every day during the summer; the soil will dry out quickly.

These planters are great. You can hang them on a wall, fence, post, true plant hanger…anywhere that has good support (they get heavy) and plenty of sun. Upside down planters are also perfect for balcony gardens or anywhere that space is limited – or if using a Sheppard’s hook type of plant hanger, they will fit in any garden bed you have and not interfere with the plants growing down below.

I’ve picked up a few more and now have six for the upcoming tomato season. The tomato of choice for them this year? Tumbling Tom. It just seemed to make sense.

Tumbling Tom is recommended for hanging baskets and I believe it will be a top performer in an upside down planter. It has a compact, trailing growth habit that develops waves of sweet, juicy, bright red (or yellow) cherry tomatoes that keep coming all summer long. If you prefer growing tomatoes in containers, Tumbling Tom will work perfectly.

As of right now I have two flats of 1″ Tumbling Tom sprouts (just came up this week) growing in the greenhouse that I expect will look like the pictures at the bottom by August!  Stay tuned…..

topsy-turvy-tomato_2revolution-upside-down-tomato-planter-1

TOm 4tom 3


Leave a comment

Cranesbill Geranium x cantabrigiense ‘Biokovo’

The Perennial Plant Association has announced its “2015 Perennial Plant of the Year” – Geranium x cantabrigiense ‘Biokovo’.

DSCN0168

Family: Geraniaceae

Genus: Geranium

Species: x cantabrigiense

Cultivar: Biokovo

A stunning addition to any garden, Cranesbill ‘Biokovo’ is a low-maintenance, long-blooming hardy geranium. It will grow well in full sun and part shade to a height of 12 to 18 inches and up to 36 inches wide. It will not bloom if planed in full shade.

With dark green foliage and light pink blooms, ‘Biokovo’ plant will provide delicate color form early spring right through to late summer.

Occurring naturally in Croatia’s Biokovo Mountains on the Dalmation Coast of the Mediterranean, ‘Biokovo’ has a medium growth rate, will adapt to most soil types and performs well in borders, edgings, alpine plantings, containers or when used as a ground cover. It’s even deer and rabbit resistant!

This plant is quite drought resistant once established, easy to split in either the spring or fall and is hardy from zones 5a (-28.8°C/-20 °F) to 9a ( -6.6 °C/20 °F).

Geranium trivia – Cranesbill geraniums get their name from the shape of the seed – it’s actually quite similar to the beak-like appearance of a cranes bill.


Leave a comment

Amaryllis Part 2

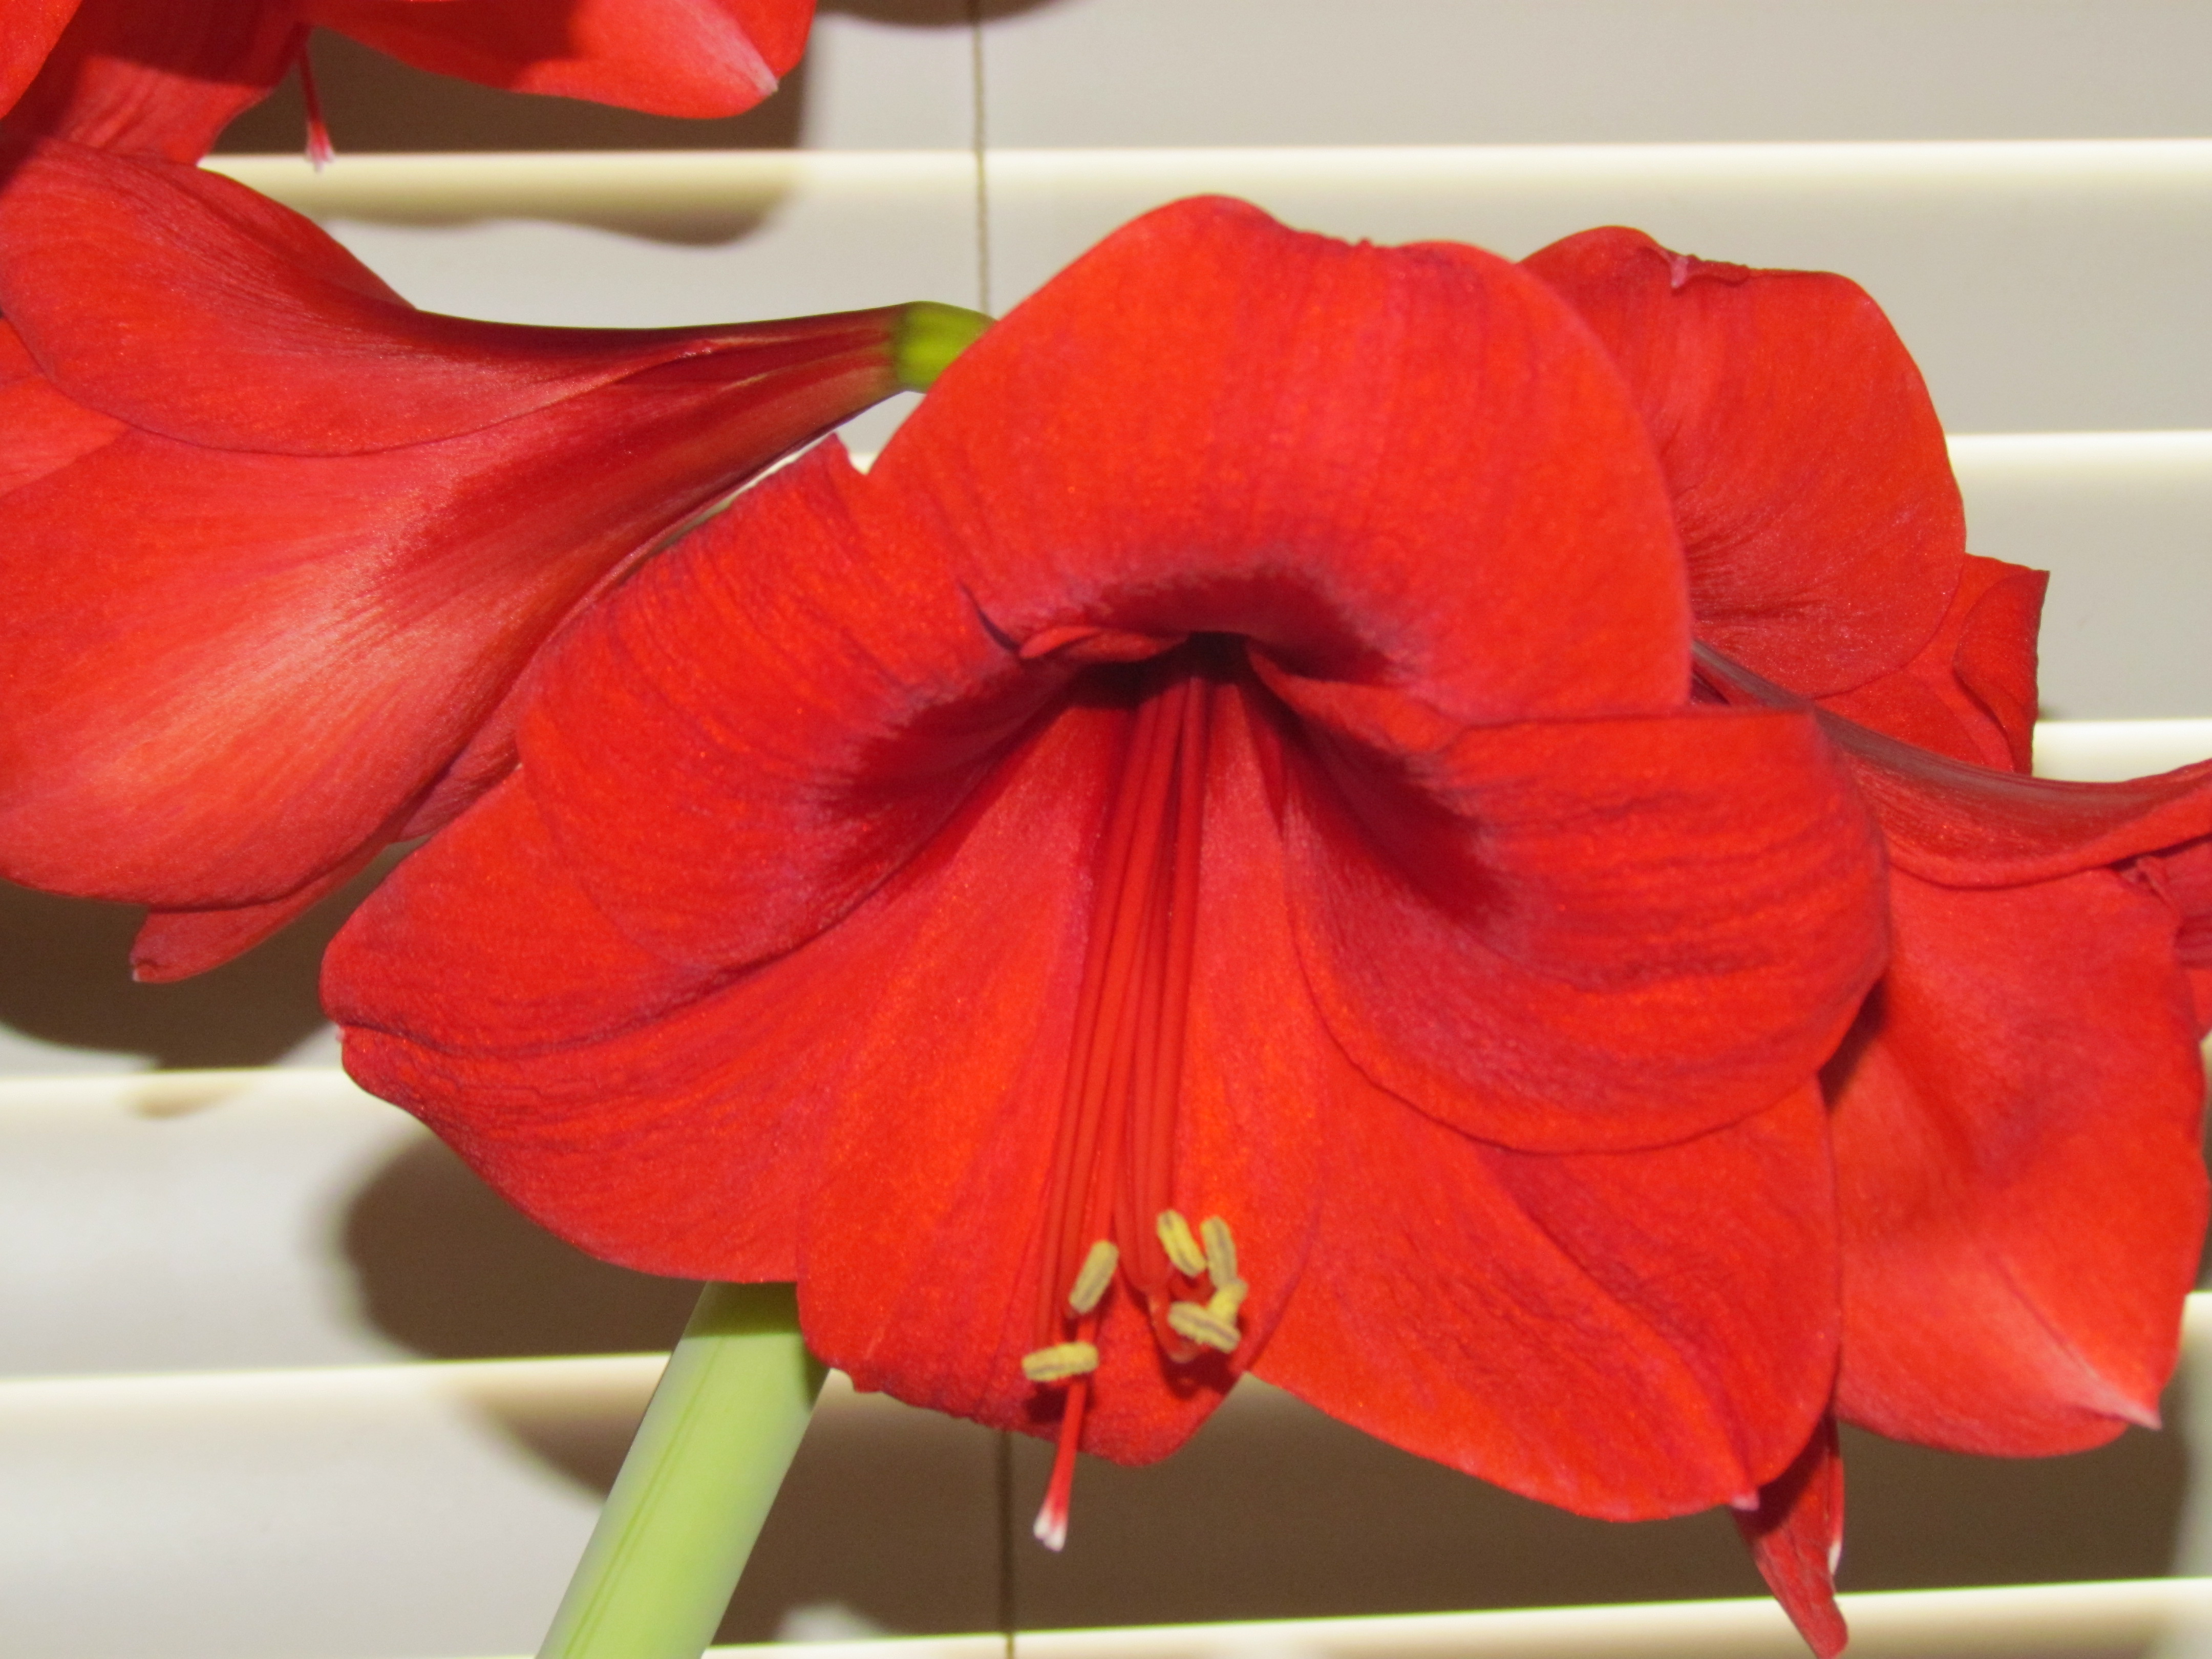
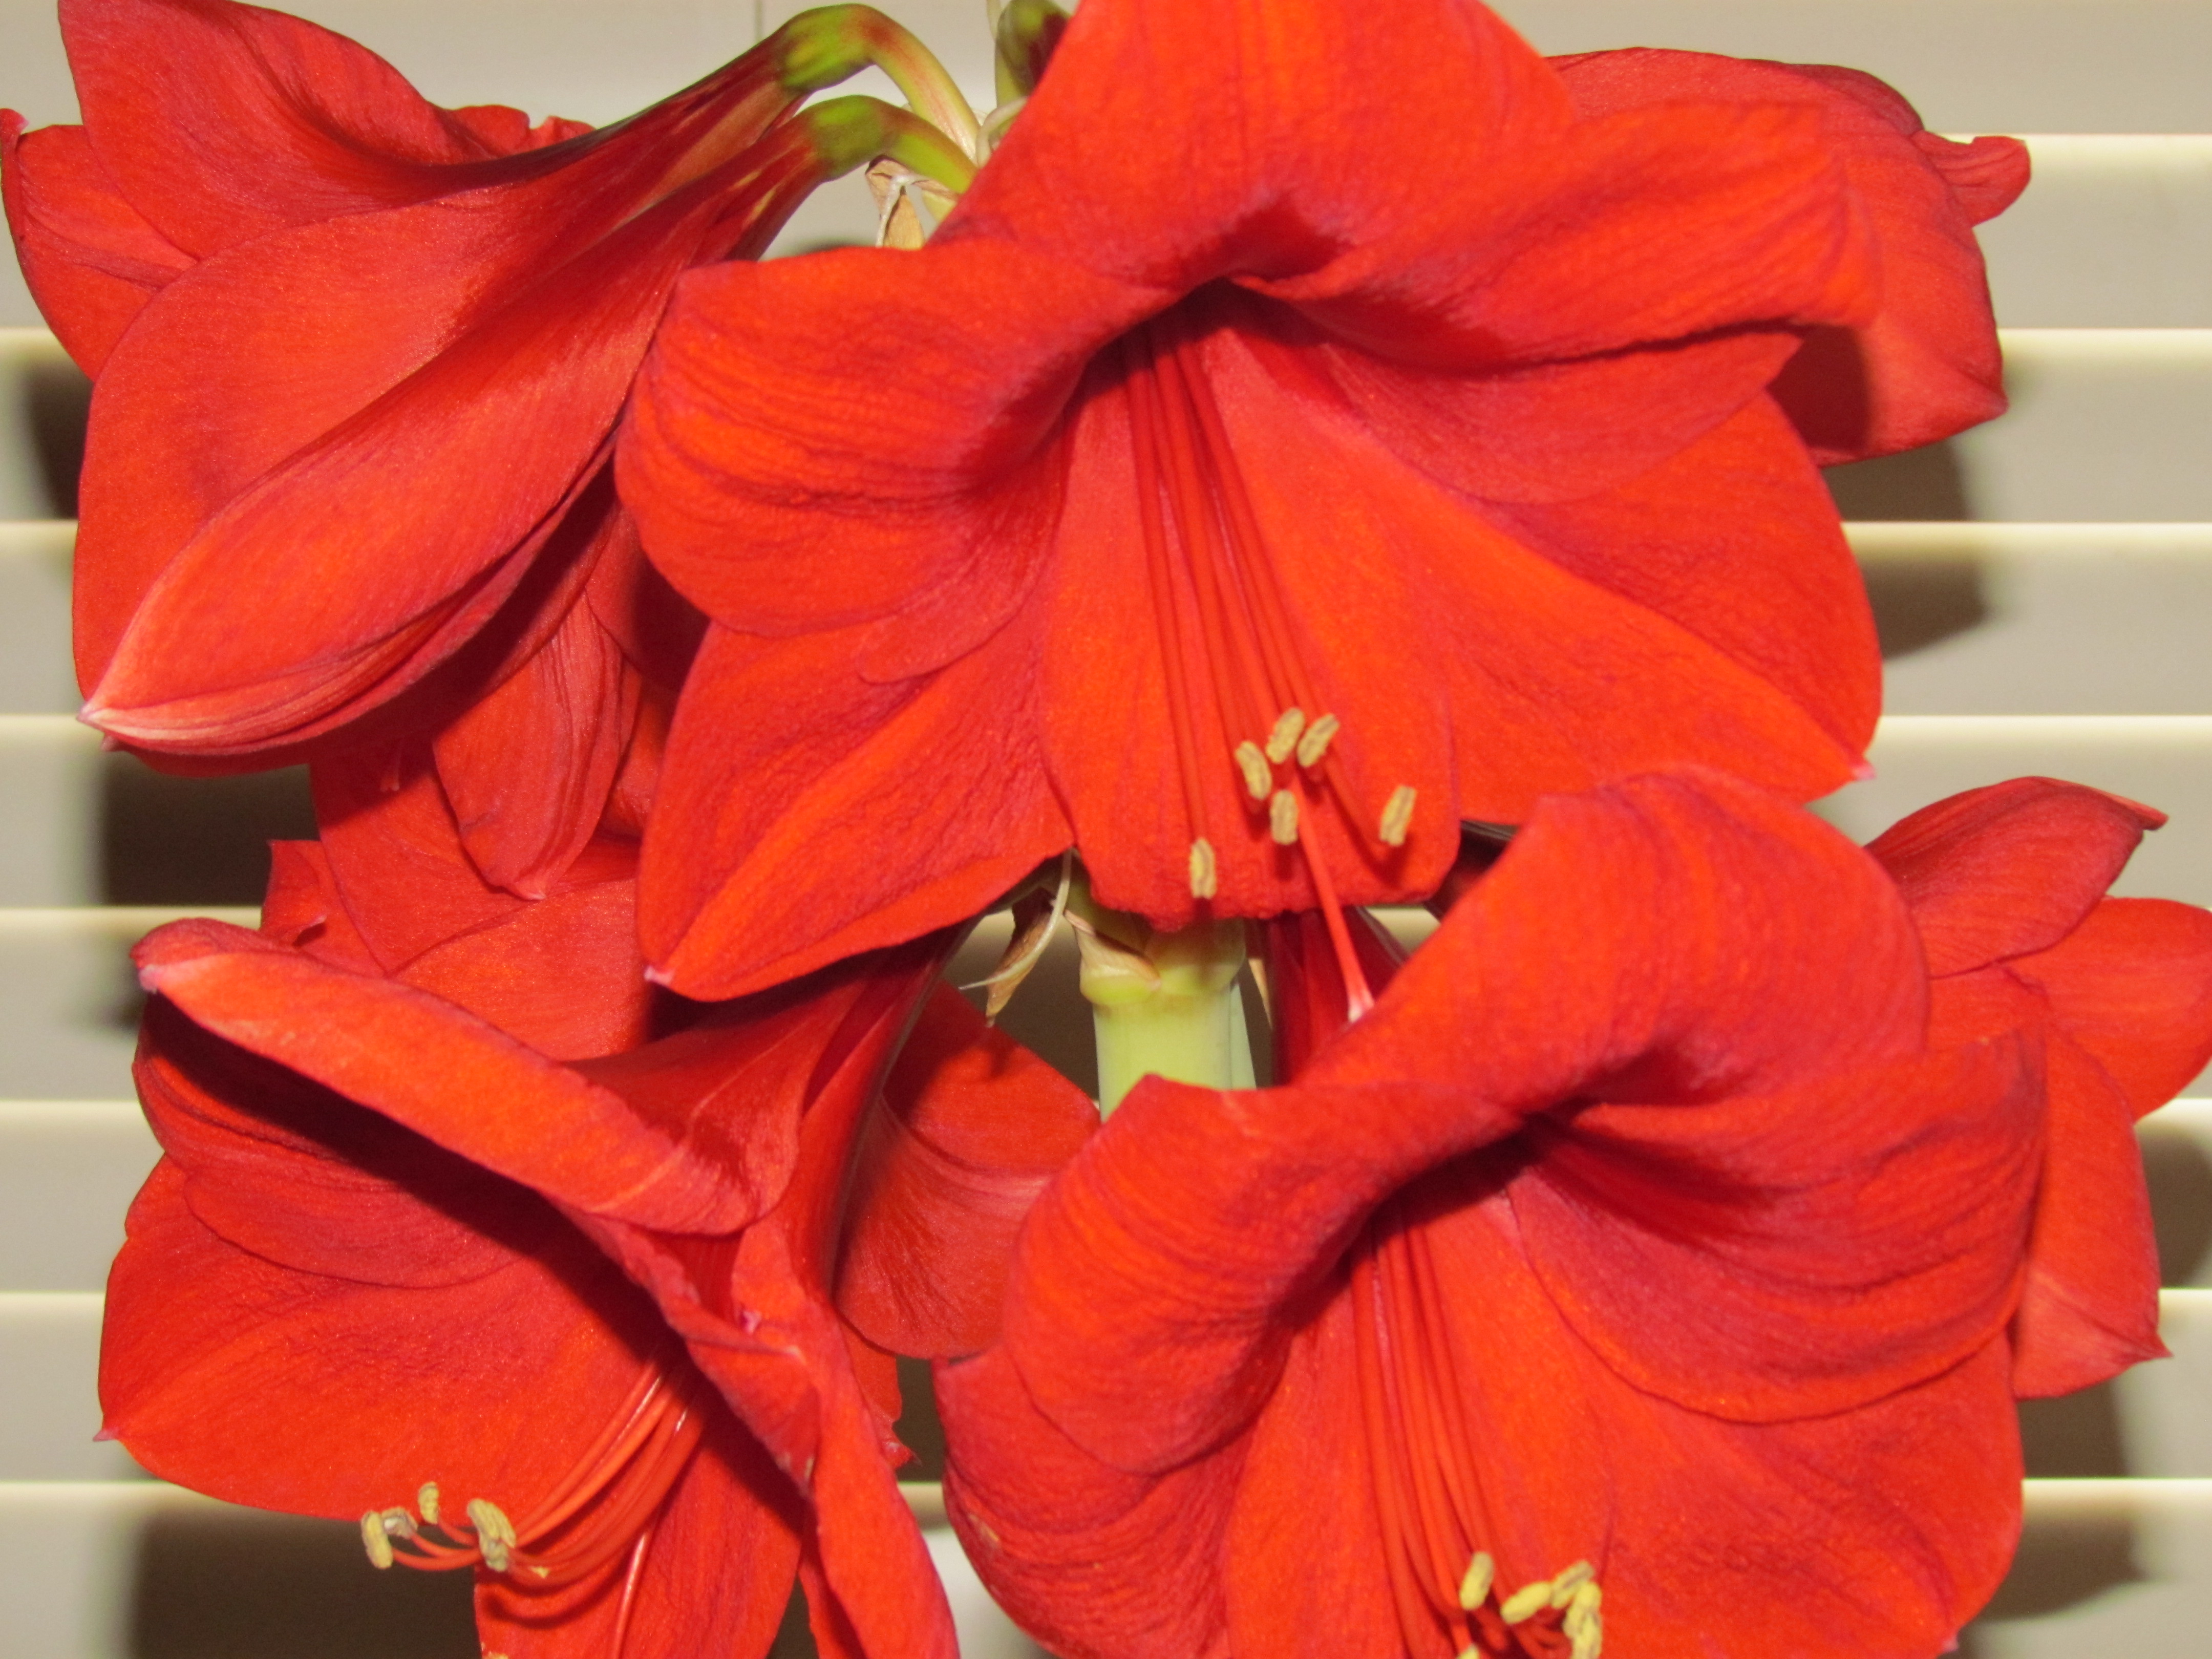
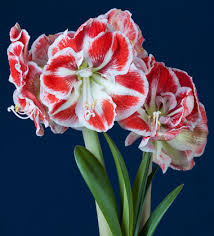
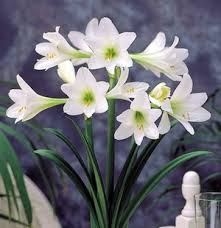
Success! Within a week, the bulb began to sprout and within four, the plant began to bloom. It looks great.

This one developed two stalks and there is a third one on the way.

IMG_2209IMG_2219IMG_2217

Now – how to get these to bloom again next year…

1) Keep it cool throughout the blooming period, 60F, and limit the water.

2) Cut the stalks just above the top of the bulb once the floral display is over.  A sappy fluid may run out of the top after cutting, but that just indicates the plant was well watered and is normal.

3) Increase fertilization, light and water. Now it’s in the growth stage and leaves will develop to help feed the bulb for the following year. Find a bright spot, fertilize monthly with a water soluble and keep it damp but not waterlogged.

4) Once the risk of frost is over for your area, move the amaryllis outside. Some leaves may drop off due to the adjustment from indoors to out, but more leaves will soon begin to develop. Keep it in a sunny spot, and continue to water it regularly. Don’t let it dry out.

5) For holiday blooms, the dormant period needs to begin late September (or adjust the dormant period according to when you would like to see blooms). Stop watering and fertilizing, cut the foliage off and move the plant to a cool area – 55F tops.

6) Keep it there until it shows signs of getting ready to grow again. Water lightly, but keep the bulb on the dry side. After about ten weeks of cool storage, new flower stalks will start to emerge.

7) Repot (or not, but either way add some fresh potting soil) and with any luck, you’ll enjoy the same floral show that you experienced the previous year.


Leave a comment

Amaryllis

This time of year, amaryllis (Hippeastrum spp.) kits just seems to pop up everywhere, so I decided to finally give it a try.

Amaryllis is easy to grow, low maintenance and provides spectacular blooms during the cold, and sometimes dull, days of winter. So until I can get back outside and play, amaryllis bulbs will be my winter garden project.

Now available in a wide range of colors, the amaryllis originated in South Africa where it continues to grow wild in some areas. Back in the 1800s amaryllis bulbs were quite rare and very costly, but over time hybridizers have created a whole new flock of interesting and inexpensive amaryllis bulbs.

All you need to do is plant the bulb in a good, clean potting soil, leaving the top third of the bulb exposed. I like this one below. When purchased, it comes complete, ready to plant in a plastic lined burlap “pot” with a bag of both potting soil, and sphagnum moss to add a decorative touch and act like a mulch – a nice gift for those that enjoy gardening.

The second picture shows the bulb slightly sticking up through the centre of the moss.

IMG_2187IMG_2189

Now all I have to do is water it now and again without overdoing it and in a few weeks I’ll have a stunning floral display. I chose Red Lion – not one of the more unique colors, but I love the vibrant, fire-engine red of the flower. In a few weeks, it should look like the one pictured below – I’ll post it’s progress as it grows.

Unknown

Keep the amaryllis in a bright spot while growing, but avoid direct sunlight when blooming. Don’t place them in a south facing window; the heat may scorch the plants.

Here’s a few interesting amaryllis flowers:

Samba                                                       Lemon Lime                                    Misty

123

Amputo                                                   Monte Carlo                                        Orange

                                                                                                                                     Sovereign

457